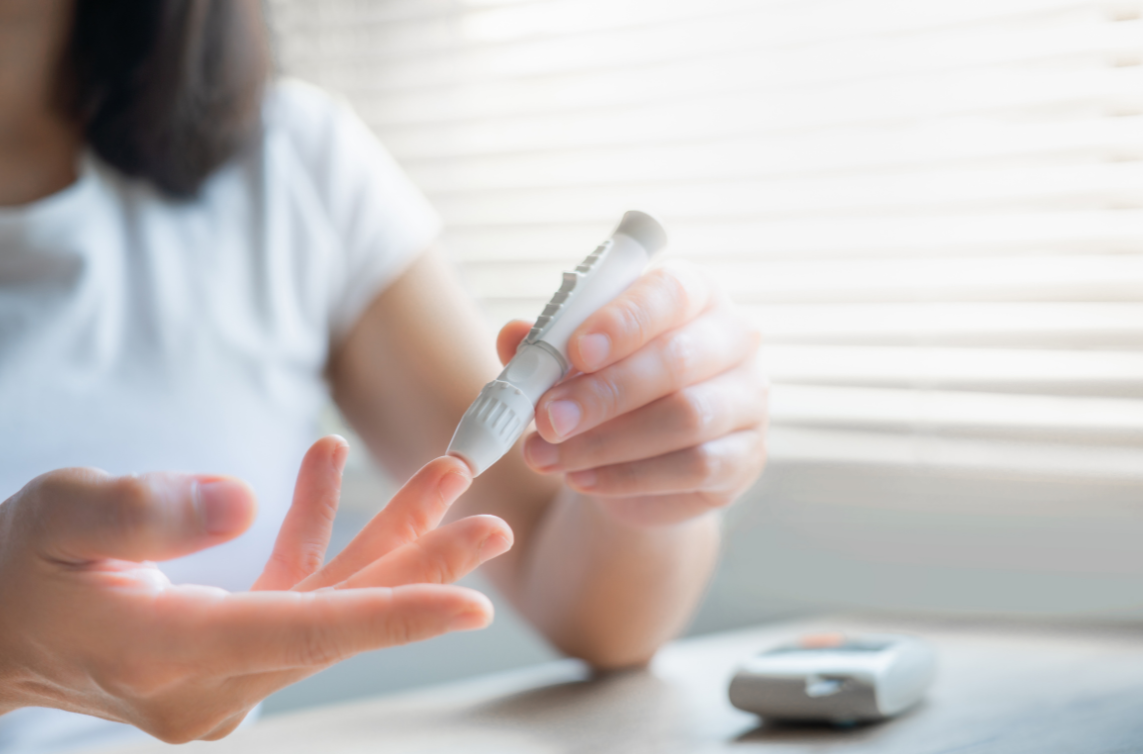
Do you hate the thought of pricking your finger to check blood sugar?
Would you believe fingerstick blood sugar checks can be almost pain free?
If you know a few simple little tricks that I will explain in this article, you really CAN save your fingers from unnecessary pain.
4 Things You Can Do to Make the Finger Poke Less Painful
#1. Set your lancing device depth on a low number.
When I say lancing device I mean the device that you put the needle (lancet) in and poke your finger with. I recommend setting the depth at 2 to start and then adjust up from there if you can’t get enough blood. You can also try setting 1, but in my experience, most adults need level 2 to get a drop of blood.
#2. Get your blood circulation going before you poke your finger.
You want to always wash your hands anyway before you check blood sugar so use warm water to help get the blood flowing. You may need to shake your hands or rub them together or do whatever works for getting some blood flowing, especially if you tend to have cold hands.
#3. Poke at the tip of the finger but a little off to the side.
You do want to poke at the end of the finger because the further you go down toward the knuckle the harder it will be to get blood. Going off to the side a little will avoid the finger print pads, where it’s more sensitive and will hurt more.
#4. THIS IS THE MOST IMPORTANT TIP OF ALL! Don’t just squeeze the tip of your finger to get blood. Instead, gently massage the blood up from the base of your finger so you are pushing the blood to where you want to get the blood drop.
The mistake I see most people making is they poke their finger – squeeze the end of the finger where they poked – don’t get blood – then turn up the depth setting. They repeat that process until they get blood but then it hurts and they get frustrated and quit testing.
Try the milking technique. It works so much better!
Now that you know how to test your blood sugar without having such sore fingers, you can focus on your numbers. So here’s a couple things to know next . . .
When to test and what targets to aim for:
First, always follow recommendations from your health care provider if you have them. If not, start with fasting and/or after meal checks. When you have diabetes your target for fasting is 80-130. (American Diabetes Association reference)
Fasting blood sugar – meaning before you eat anything in the morning – is the most common time people check blood sugar. And fasting means before having anything other than water. Even black coffee can make blood sugar go up a little because of the caffeine effect.
But if you only check fasting and never check after meals, you never figure out how your body is handling carbs. You actually have less control over fasting blood sugars than after meal numbers. If you have questions about why your fasting numbers are high, check out my blog post 7 Reasons for High Morning Blood Sugars.
Try checking 2 hours after a meal.
Why 2 hours? . . . that’s the time our body would normally bring our blood sugar back down if you don’t have diabetes. And you want to check as close to 2 hours after the START of eating as possible. Your goal if you have diabetes is to be less than 180 by 2 hours after eating. You may need to set a phone alarm to remind you to check at that 2 hour mark.
You also want to compare what your blood sugar is after a low carb meal compared to a high carb meal. This way you get an idea of what your body can handle.
So those are the top 2 times but your health care provider may have other recommendations for you. Each person’s situation is different.
Have you been told you have PREDIABETES? If so you may want to aim for NORMAL blood sugars. Those ranges are 70-100 fasting and less than 140 after meals.
Need help learning how to use your meter or make sense of your numbers? Contact me with your questions!


0 Comments